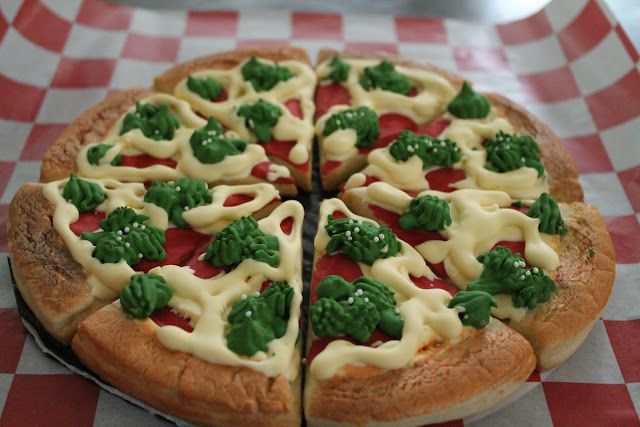
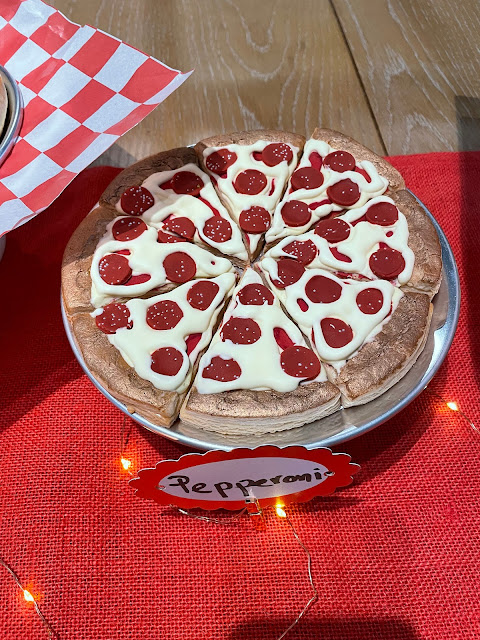
Recently I got a very special cookie request, Pizza cookies! I have never made pizza cookies before, so I was really excited about making them.
To decorate these pizza cookies you need to make them in different stages as you want them to look very realistic, so take your time and plan ahead how many days you will need to finish your project.
I was going to make a paper template to cut out the cookies, but I really wanted the cookies look like they were part of a whole pizza, so I went and ordered a pizza cookie cutter on Etsy, you can also find one at Amazon: Click HERE
I started by cutting out the cookies and added an extra layer of dough on the edge, so the crust looks more realistic, I placed them over a baking mat forming the whole pizza and separated each pieces by 1- 1/2 inches, so this way they will bake evenly.
To decorate the cookies I started planning what colors of icings and consistencies I was going to need, also I made some of the pizza toppings as royal icing transfers.
Then I made a little paper template to draw in each cookie where I was going to add the red icing AKA tomato sauce. I used deep pink and super red to tint the icing.
Then I added the red icing and let it dry completely.
For the cheese, I tinted magic consistency icing with ivory and a tiny bit of egg yellow food gel color, and added a layer of cheese.
I added some of the toppings and I let dry that layer completely to later on add another layer of the same icing (cheese) more toppings and paint the crust edge with gold and orange watercolor edible paint.
I placed each pizza over an 8 inches pizza tray and also I put the cookies in a pizza box layered with a red and white checkered food grade paper.
I LOVE the Hawaiian pizza, is the one that looks more realistic to me!
Which pizza cookie is your favorite? It was really a fun project to make!


0 comments
Thank you very much for your comment!